Introduction
After a month long sprint into learning Golang i decided to rewrite code from my undergrad project from a PHP, MySQL, React stack into a “modern” stack using Go, Supabase for data storage and Flutter as the frontend for a mobile application. After two days writing and debugging code, it was finally time to build and deploy the application. In my attempt to deploy the application locally I got frustrated with the fact that the application needed to run constantly in the background of my main development computer thus if I needed to shutdown the application also stops working. To solve this conundrum I decided to deploy to a remote VPS with docker. This begun my attempt at pacakging my code to run in a container environment.
Prerequisites
To begin the process of deploying your go application on docker you would need to install the following in your dev environment, this guide assumes you have the necessary software to run Go.
- Docker Desktop: Docker Desktop provides a GUI that lets you manage containers and images on your local machine. Follow this link to install. If you want to share your images or collaborate with other devs you’d need to create a Docker Hub account where you can upload your container images. Run the command below in your CLI to confirm installation.
$ docker –-version - An IDE or Text Editor: In this guide I will be making use of Virtual Studio Code. Follow this link to install.
Dockerizing your Application
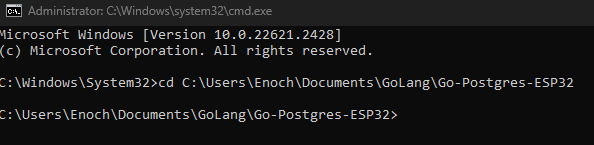
To begin, navigate into your applications directory in your CLI
This guide assumes your go application is named index.go
From your terminal run the command “go run .” to test if your code works as expected.
$ go run .If your application successfully runs locally without an error, we are ready to containerize it.
Creating a Dockerfile
In order to build a container image with Docker we would need a Dockerfile which contains the required build instructions. Using the docker build command with a Dockerfile present in the directory we created, an automated build will execute the instructions specified in succession.
In the root of your project create a Dockerfile named “Dockerfile” with no extension.
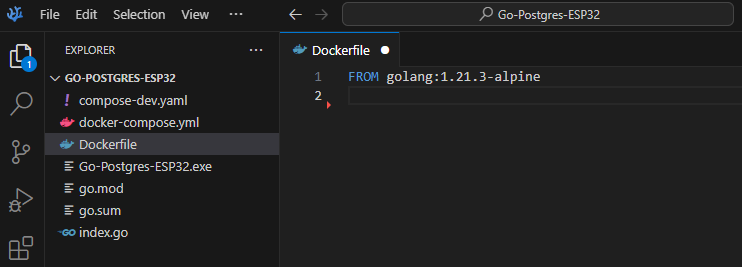
Next we tell Docker what base image we would like to use for our application:
FROM golang:1.21.3-alpineIn the guide we use the official Go Image which has all the necessary libraries to compile and run our Go application.
Now that the base image for our container image has been defined we can build on it.
Next we create a new directory within the Docker image we’re building using the command WORKDIR /app, this instructs Docker to use the directory as our default location for subsequent commands.
WORKDIR /appNext, we copy the content from our go.mod and go.sum files into the new directory we created using the COPY command.
COPY go.mod go.sum ./Now that we have our go module files in the directory we can use the RUN command to execute and install the Go modules into the directory.
RUN go mod downloadNow that we have all the necessary Go dependencies installed within our image we copy the source code into the image using the command below.
COPY *.go ./This command copies all the files with the .go extension from our root directory into the image.
The next step is to build our application. To do so, we use the RUN command as well as the go build command to build our Go app.
RUN go build -o /GO-POSTGRES-ESP32/GO-POSTGRES-ESP32 should be changed to the name of the folder your Go source code resides in.
Next we tell Docker which command to run when our image is used to start a container.
CMD [ "/GO-POSTGRES-ESP32" ]Below is the complete Dockerfile:
FROM golang:1.21.3-alpine

WORKDIR /app

COPY go.mod go.sum ./
RUN go mod download

COPY *.go ./

RUN go build -o /GO-POSTGRES-ESP32

EXPOSE 8080

CMD [ "/GO-POSTGRES-ESP32" ]
Building the Docker image
To build an image from our Dockerfile we use the command docker build in our CLI. We can include a tag with -t or –tag to label our image, docker will use the label latest if this value is not present.
$ docker build -t go-postgres-esp32 .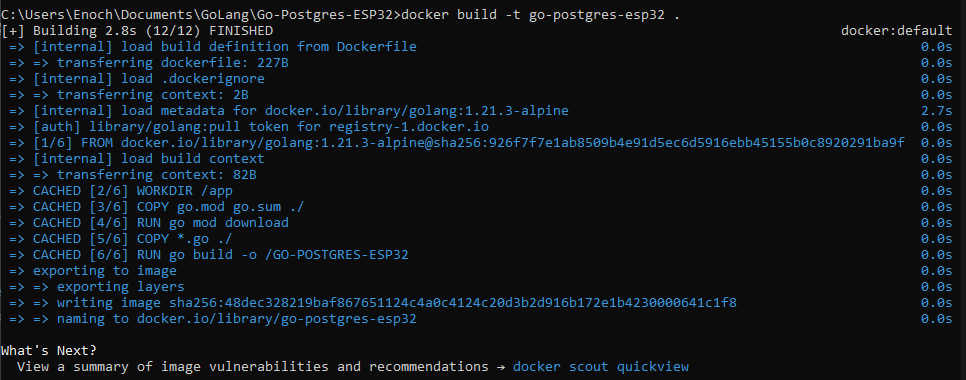 After Docker has successfully built the image you can use the command
 docker images to view your image along with its tag.
$ docker images
Running our custom image
To run our image as a container we use the docker run command along with the name of the image.
$ docker run go-postgres-esp32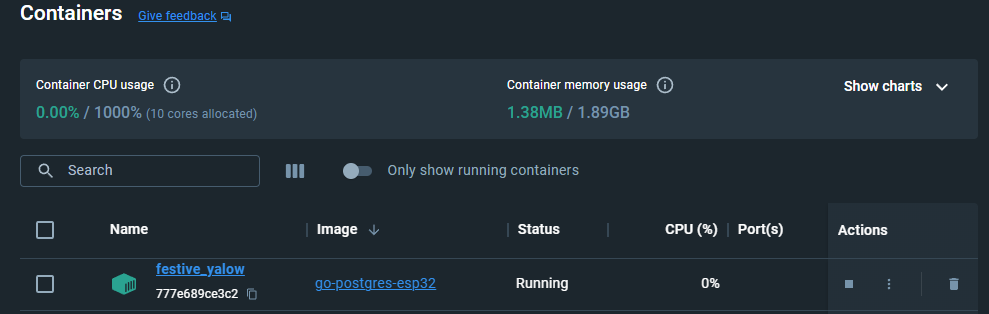
Bonus
Using your host IP in your container
You may need to connect to the host network within a Docker container to access other services running locally on your host machine. To do this we would need to create a docker-compose file to define our containers configuration options such as networks and volumes. To begin we create a “docker-compose.yml” file with our IDE or text editor. Then we add the code below inside that defines our applications image, port number and environment variable.
version: '3.7'

services:
  app:
    image: index:latest
    ports:
      - "8080:8080"
    environment:
      DB_UPSTREAM: http://${DOCKER_GATEWAY_HOST:-host.docker.internal}:3000
The secret sauce here is the DB_UPSTREAM environment variable DB_UPSTREAM: http://${DOCKER_GATEWAY_HOST:-host.docker.internal}:3000. This points to the hosts IP and port 3000, this tells Docker to use the env variable DOCKER_GATEWAY_HOST when resolving the IP.
To run the docker-compose.yml file use the command docker-compose up -d and to stop the container use the command docker-compose down.
$ docker-compose up -d